
Drone Photography for Beginners 2026: Laws, Settings & First Shots Guide
 11 min read
2,104 words
11 min read
2,104 words
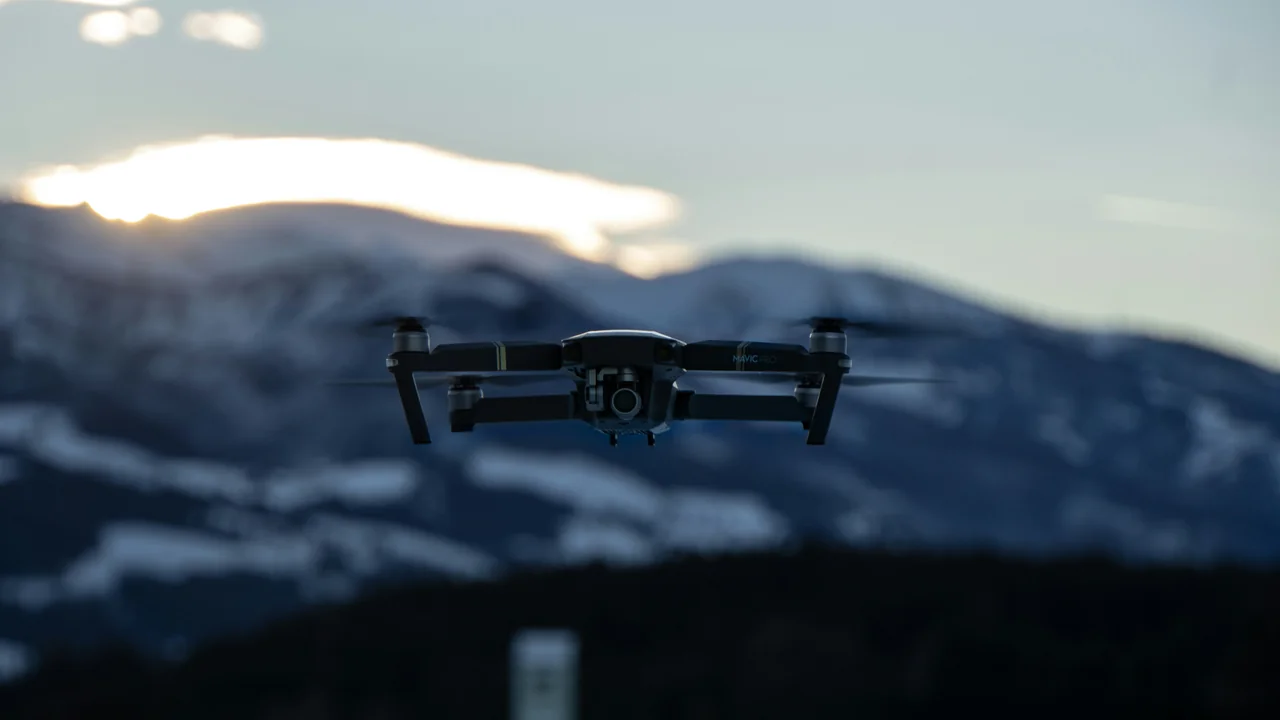
You just unboxed your first drone, and you are probably feeling a mix of excitement and nerves. You want to capture stunning aerial photos, but you also know there are rules you need to follow. This beginner drone photography guide is designed to walk you through everything you need to know in 2026, from the very first registration to your first perfect shot. We will cover the essential drone photography laws beginners must understand, the best settings for your drone camera, and practical tips to get you flying and shooting with confidence.
Do You Need to Register Your Drone with the FAA?
Before you even think about taking off, the most critical step in your beginner drone photography journey is understanding the law. In the United States, the Federal Aviation Administration (FAA) requires registration for most drones. The key threshold is weight: any drone weighing more than 0.55 lbs (250 grams) must be registered through the FAA DroneZone website. The registration fee is $5 and is valid for three years.
If you are flying purely for fun (recreational purposes), you must also take the free online TRUST test (The Recreational UAS Safety Test) and carry your completion certificate with you. This is mandatory for all recreational pilots, regardless of drone weight. For our international audience, the rules vary significantly. In the UK, you need a Flyer ID (pass a theory test) and an Operator ID (annual fee) from the CAA. In Australia, if your drone is under 2 kg, you can fly in the “excluded” category with a few basic rules. In Canada, you need a Transport Canada RPAS certificate (Basic or Advanced) for any drone over 250 grams.
How to Take Good Drone Photos: A Beginner’s First Flight Checklist
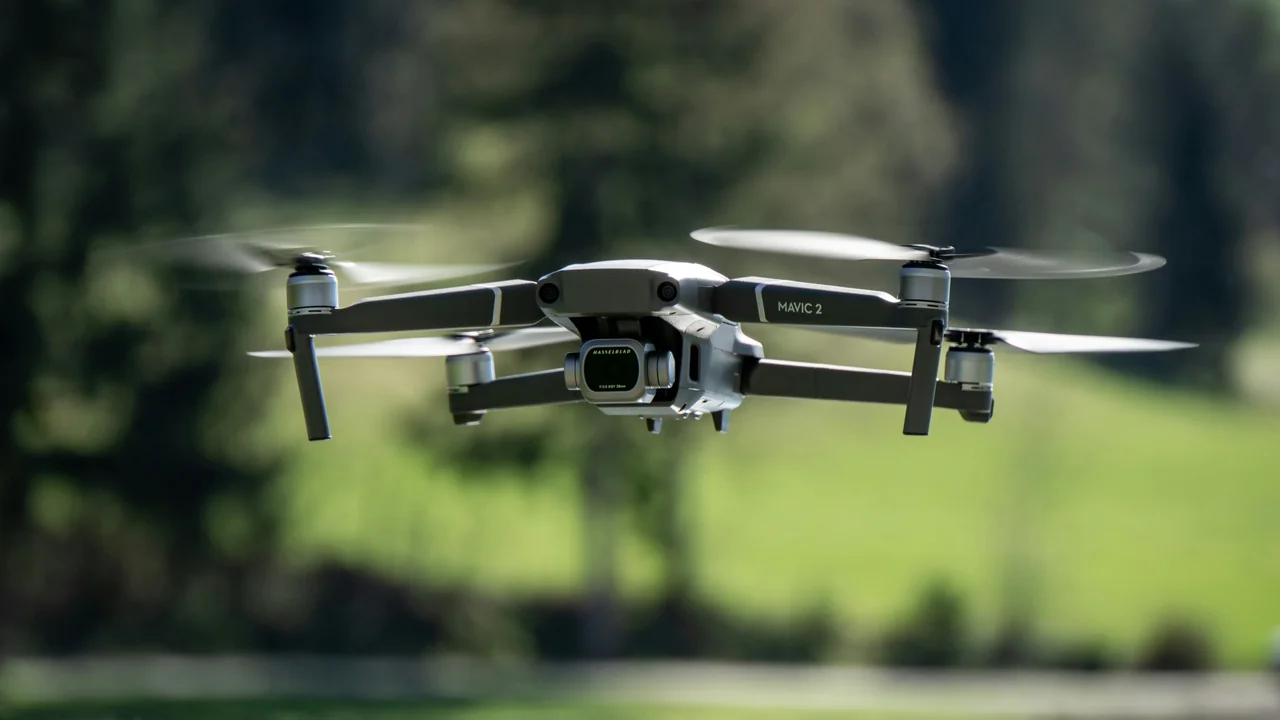
Once you have your registration and legal requirements sorted, it is time to prepare for your first flight. Rushing into the air is the fastest way to crash or lose your drone. Follow this first drone flight tips checklist to ensure a safe and productive session.
Fully charge your drone battery, remote controller, and your phone or tablet. A partially charged battery can lead to unexpected low-battery warnings mid-flight.
Use the B4UFLY app (US) or a similar local app to check for flight restrictions, temporary flight restrictions (TFRs), and controlled airspace near you.
Wind is your drone’s enemy. Check wind speeds at ground level and aloft. A good rule of thumb for beginners is to fly only when wind speeds are under 10 mph (16 km/h).
If your drone prompts you, calibrate the compass in a wide open area away from metal objects or power lines. This ensures accurate navigation.
For your first few flights, choose a large, empty field with no trees, power lines, or buildings. A park or a sports field is ideal.
Best Drone for Beginners: Sub-250g vs. Heavier Drones
As a beginner, the single best piece of advice is to start with a sub-250g drone. These lightweight drones fall under much simpler regulations. In the US, you still need to take the TRUST test, but you do not need to register the drone itself with the FAA. This makes the entire process less intimidating. The DJI Mini 4 Pro, DJI Mini 3, and the new DJI Neo are all excellent options that weigh under 250 grams. They offer incredible camera quality in a package that is safe and easy to fly.
| Drone Model | Weight | Key Camera Specs | Best For |
|---|---|---|---|
| DJI Mini 4 Pro | Under 249g | 4K/100fps, 48MP Photo, Obstacle Avoidance | Best all-around beginner camera drone |
| DJI Mini 3 | Under 249g | 4K/30fps, 12MP Photo, No Obstacle Avoidance | Budget-friendly with great image quality |
| DJI Neo | Under 135g | 4K/30fps, 12MP Photo, No Obstacle Avoidance | Ultra-light, indoor-friendly, very affordable |
Drone Photography Tips Beginners Need for Better Shots
Now that you are legally and safely in the air, how do you actually capture compelling images? The best settings for drone camera are not as complex as you might think. The key is to move away from full auto mode and take control of a few core settings.
Camera Settings: Auto vs. Manual for Drone Photography
Most beginners start in Auto mode, and that is perfectly fine for your first few flights. However, to really improve your images, you need to learn manual settings. The most important setting is ISO. Keep your ISO as low as possible, ideally 100 or 200, to avoid grainy noise in your photos. For shutter speed, a good starting point for still photography is 1/120th to 1/250th of a second, depending on the wind conditions. If you are shooting video, follow the 180-degree rule: set your shutter speed to double your frame rate (e.g., 1/50th for 24fps video).
Composition Basics: Rule of Thirds and Leading Lines
Good drone photography is not just about the camera; it is about how you frame the scene. The rule of thirds is your best friend. Enable the grid overlay in your drone’s camera settings. Place the horizon on the top or bottom third line, not in the center. Place interesting subjects like a lone tree or a winding road at the intersection points of the grid. Leading lines, such as a river, a fence, or a shoreline, naturally draw the viewer’s eye through the image. Always check that your horizon is perfectly level—nothing ruins a good aerial shot faster than a crooked horizon.
Golden Hour: The Best Light for Your First Shots
The single most effective way to make your drone photos look professional is to fly during the golden hour. This is the hour after sunrise and the hour before sunset. The low angle of the sun creates long, dramatic shadows and bathes the landscape in warm, soft light. Midday sun is harsh and creates flat, uninteresting images with deep shadows. As a beginner, plan your flights around these times. The light will do most of the work for you.
Common Beginner Mistakes and How to Avoid Them
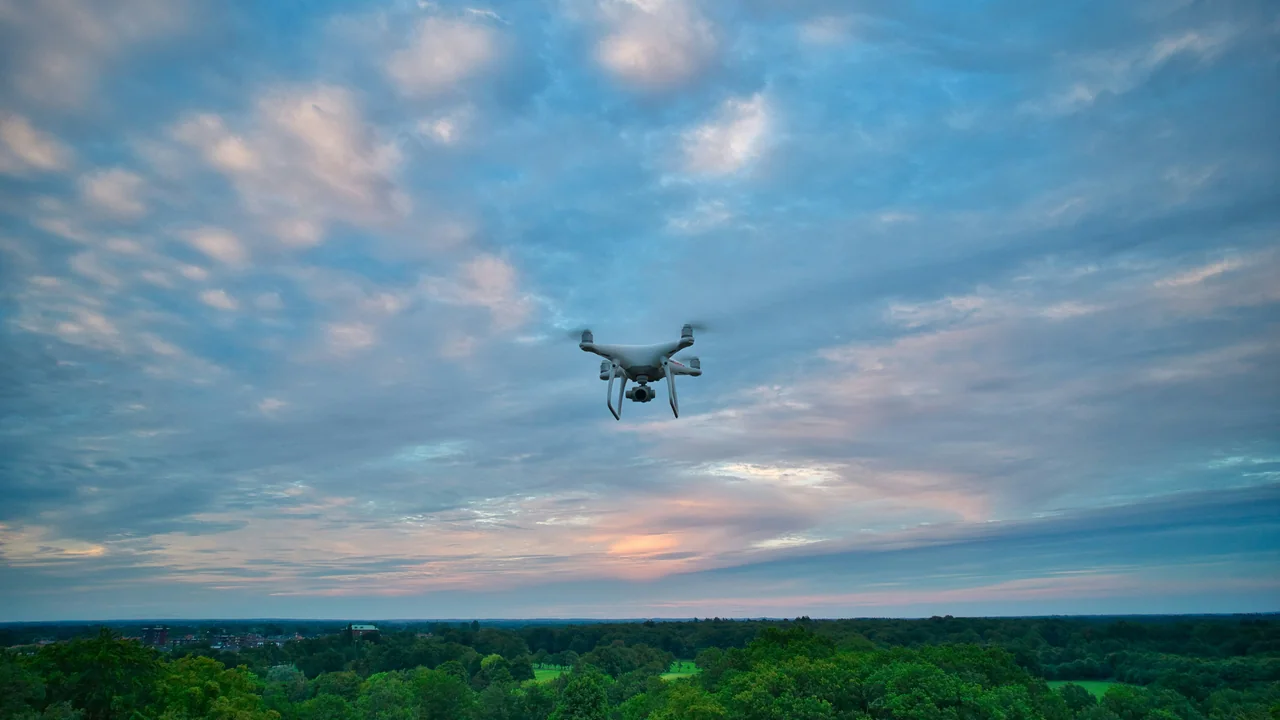
Every drone pilot makes mistakes, but knowing the most common ones can save you a lot of frustration and money. The biggest mistake is flying over people. This is illegal in most countries and extremely dangerous. Always maintain a safe distance from crowds. Another common error is flying too fast in FPV mode near obstacles. Take it slow, especially when flying backward or sideways, as the obstacle avoidance sensors on many drones do not work in those directions. Finally, do not forget to format your memory card before every flight to prevent file corruption.
Post-Processing and Sharing Your Aerial Content
Your work is not done when the drone lands. Post-processing is where you can truly make your images pop. For beginners, start with free software like DaVinci Resolve (for video) or Adobe Lightroom (for photos). The first step is to correct the white balance and exposure. Then, you can apply a LUT (Look Up Table) to your video footage for a cinematic look. For photos, increase contrast slightly, sharpen the image, and adjust the saturation to make the colors more vibrant. Once you are happy, share your work on social media, YouTube, or even consider submitting it to stock footage sites like Shutterstock or Pond5 to earn some money from your hobby.
Building Flight Hours and Joining a Community
The best way to improve your drone photography skills is to fly as often as possible. Set a goal to fly at least once a week, even if it is just for 15 minutes in your backyard. Each flight builds muscle memory and confidence. Consider joining a local drone club or an online community like the DroneAllowed.com forums (coming soon). You can learn from experienced pilots, get feedback on your photos, and discover new flying locations. Building flight hours safely is the foundation of becoming a skilled drone photographer.
Final Thoughts
Becoming a competent drone photographer is a journey that combines legal responsibility, technical skill, and artistic vision. Start by mastering the regulations in your country—register your drone, take the required tests, and always fly safely. Choose a sub-250g drone like the DJI Mini 3 or Mini 4 Pro to simplify the legal process. Focus on the basics: fly during golden hour, use manual camera settings, and practice composition rules. Avoid common mistakes like flying over people and rushing your shots. With consistent practice and a willingness to learn, you will be capturing stunning aerial images in no time.
Frequently Asked Questions
What drone should a beginner buy?
For a complete beginner in 2026, the best drone to buy is a sub-250g model like the DJI Mini 3 or DJI Mini 4 Pro. These drones are lightweight, do not require FAA registration (though you still need the TRUST test), and offer excellent camera quality. The DJI Neo is an even cheaper option for learning basic controls, but its camera is less capable for serious photography.
How do I legally fly a drone as a beginner in the US?
To fly legally as a beginner in the US, you must follow FAA rules. First, if your drone weighs over 0.55 lbs (250g), register it on the FAA DroneZone website for a $5 fee valid for three years. Second, take the free online TRUST test and carry your completion certificate. Third, always fly below 400 feet AGL, stay away from airports, and use the B4UFLY app to check for airspace restrictions.
What are the best camera settings for a DJI Mini 4 Pro?
For the best results with a DJI Mini 4 Pro, start with these beginner-friendly settings. Set your ISO to 100 for the cleanest image. Use a shutter speed of 1/120th to 1/250th of a second for still photos. Shoot in RAW format for maximum editing flexibility. Enable the grid overlay to help with composition. For video, shoot in 4K at 24fps with a shutter speed of 1/50th of a second.
Do beginners need a drone license?
In the US, recreational beginners do not need a Part 107 Remote Pilot Certificate (the “drone license”) unless they plan to fly for commercial purposes. However, you must take the free TRUST test and carry your certificate. For commercial work, you need the Part 107 license. In the UK, you need a Flyer ID and Operator ID. In Australia, sub-2kg recreational flying does not require a license but has strict rules. In Canada, you need a Basic or Advanced RPAS certificate.
How do I take good photos with my first drone?
To take good photos with your first drone, focus on three things: light, composition, and camera settings. Fly during the golden hour (sunrise or sunset) for the best natural light. Use the rule of thirds by enabling the grid overlay and placing your subject at the intersection points. Keep your ISO low (100-200) and your shutter speed fast enough to avoid motion blur. Always check that your horizon is level before pressing the shutter button.
Can a beginner fly a DJI drone without any training?
Technically, yes, you can fly a DJI drone right out of the box without formal training, but it is strongly discouraged. DJI drones are sophisticated and can be dangerous if mishandled. At a minimum, you should watch the official DJI tutorial videos, take the FAA TRUST test, and practice in a wide open space. Flying without understanding the basics of airspace rules, battery management, and emergency procedures significantly increases the risk of crashing or violating the law.
Last updated: July 04, 2026
- Federal Aviation Administration (FAA) — faa.gov
- FAA DroneZone — faadronezone.faa.gov
- FAA TRUST Test — faa.gov/uas/recreational_fliers
- Civil Aviation Authority (CAA) UK — caa.co.uk
- Civil Aviation Safety Authority (CASA) Australia — casa.gov.au
- Transport Canada — tc.canada.ca
Drone Allowed
DroneAllowed editor covering drone regulations, aviation law, and aerial photography across USA, UK, Canada & Australia.